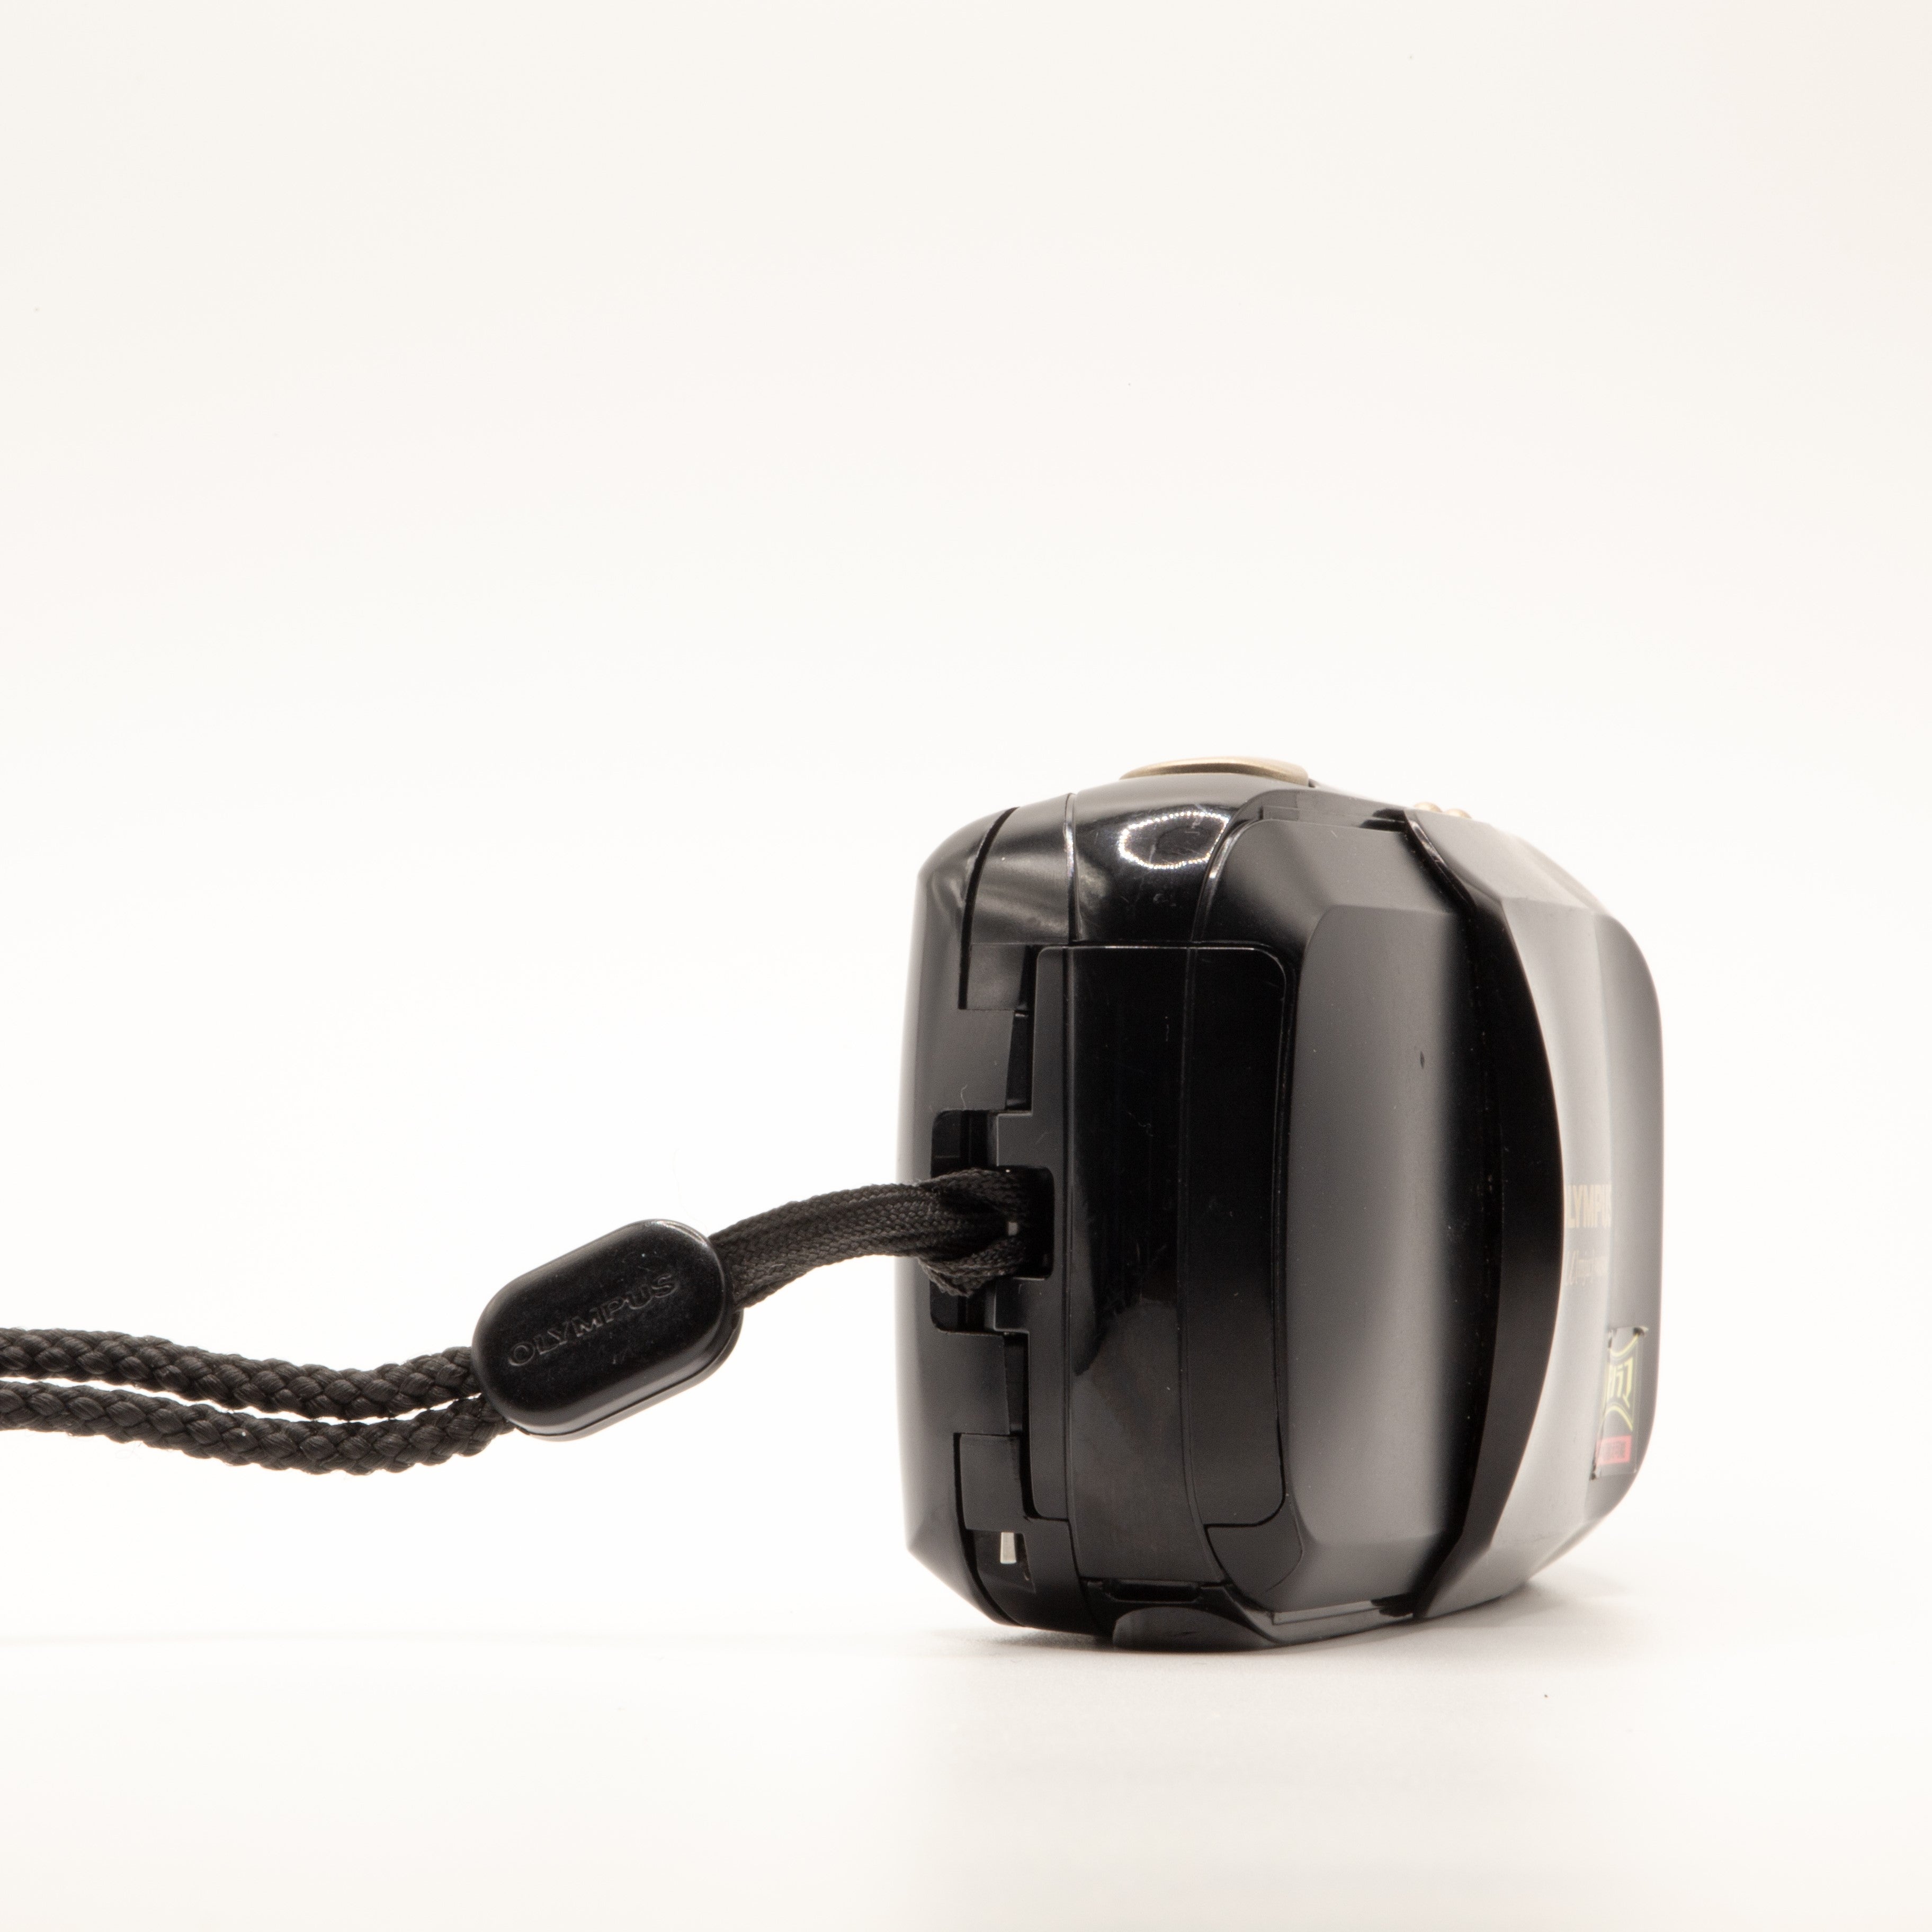
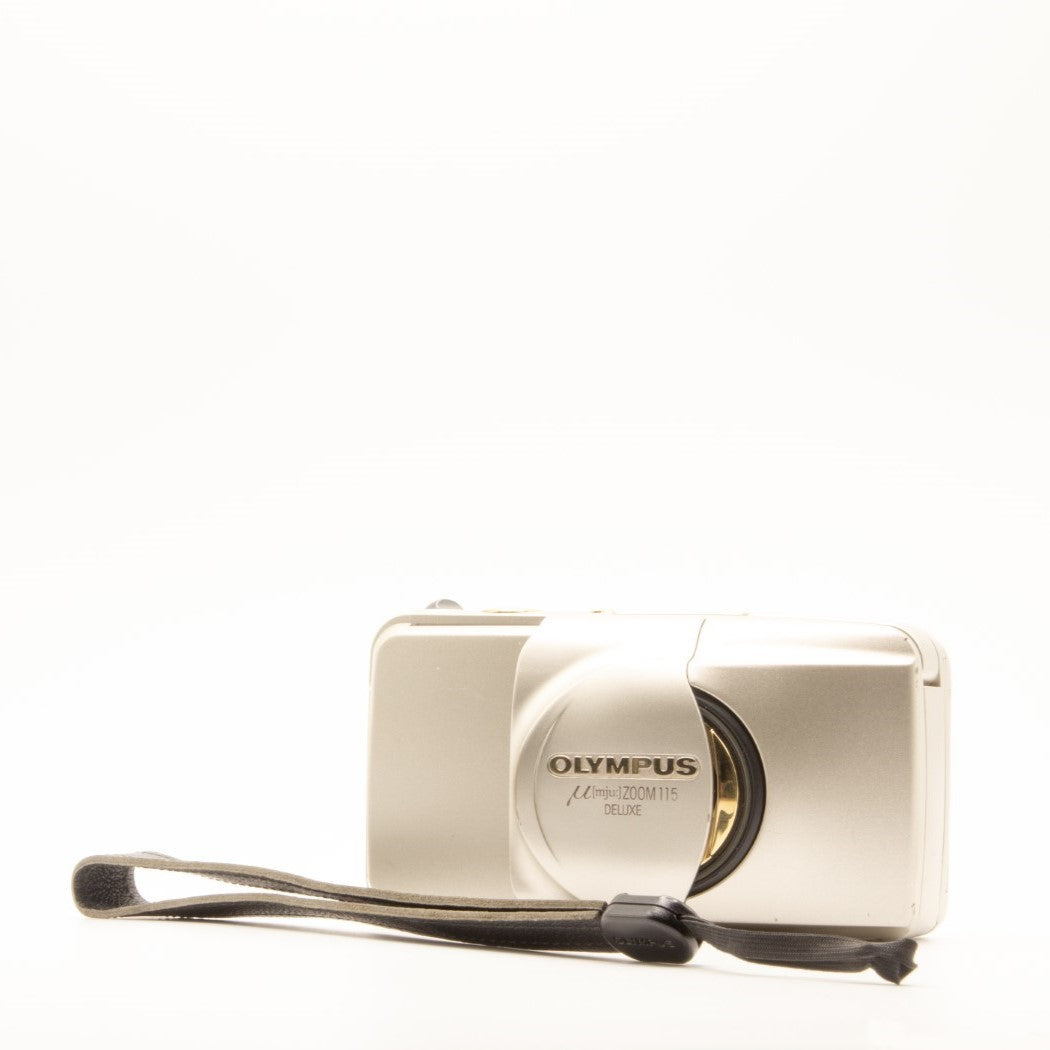
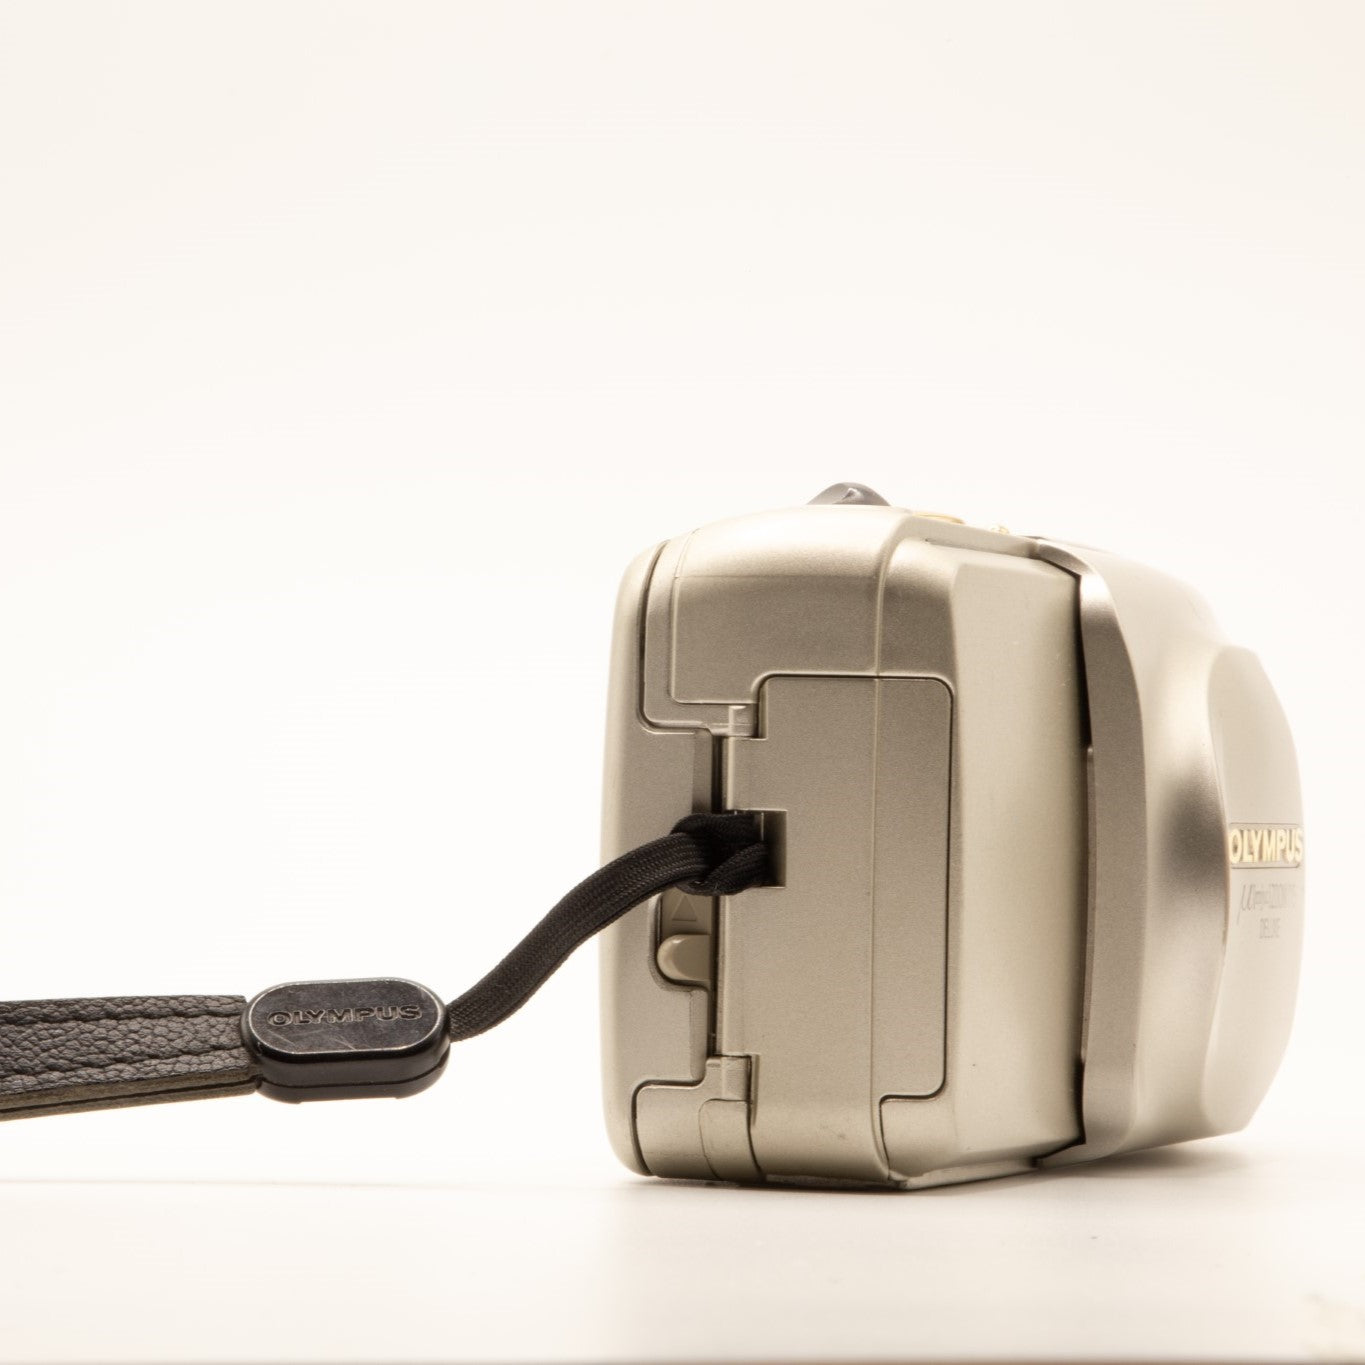
So you've got your first film camera, how exciting! Now how exactly does each button work and how does your camera operate?
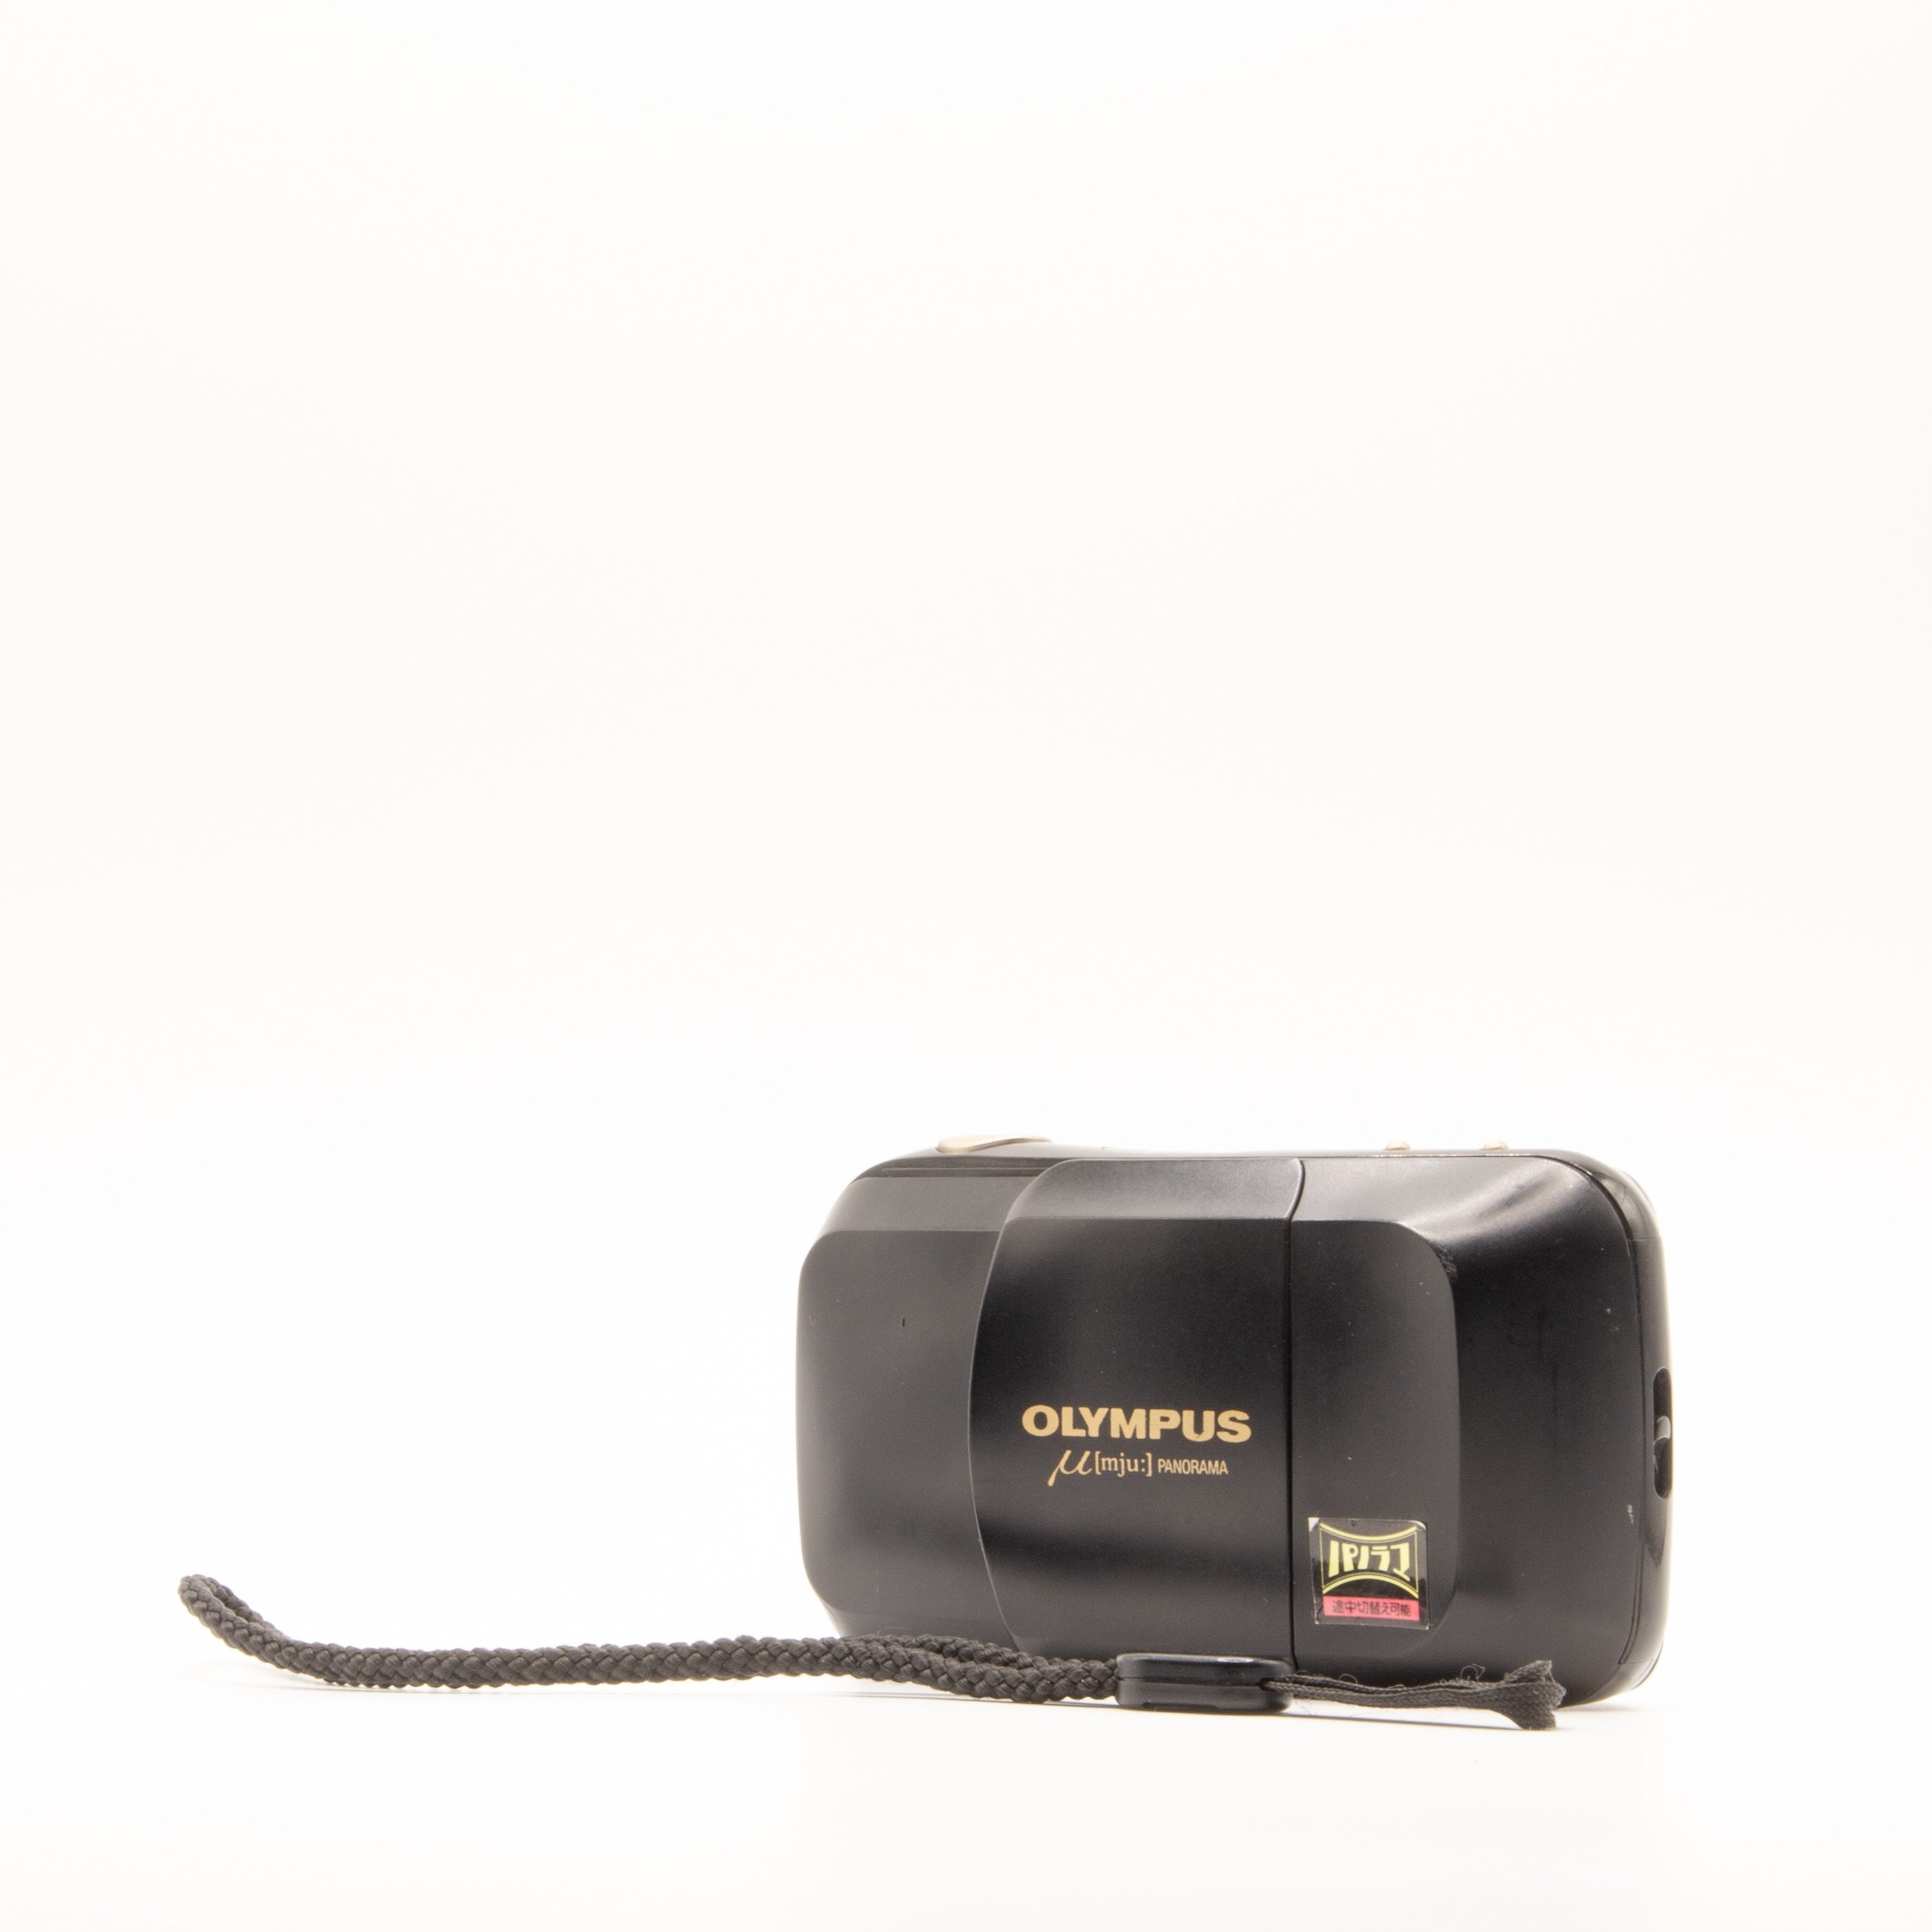
Although it may be daunting at the start, we are here to provide you with a step-by-step guide covering the basics of correctly operating your camera. In this guide, we will be using an Olympus Mju ii 115 VF. Please follow along and adjust the steps to your camera setup.
1. Getting familiar with your camera.
Pictured below is a labelled guide around our example camera, the Olympus Mju ii 115 VF.

Most point-and-shoot cameras will resemble or have similar characteristics to this kind of camera. Now with your camera, look around it and identify and familiarise yourself with your setup using our guide.
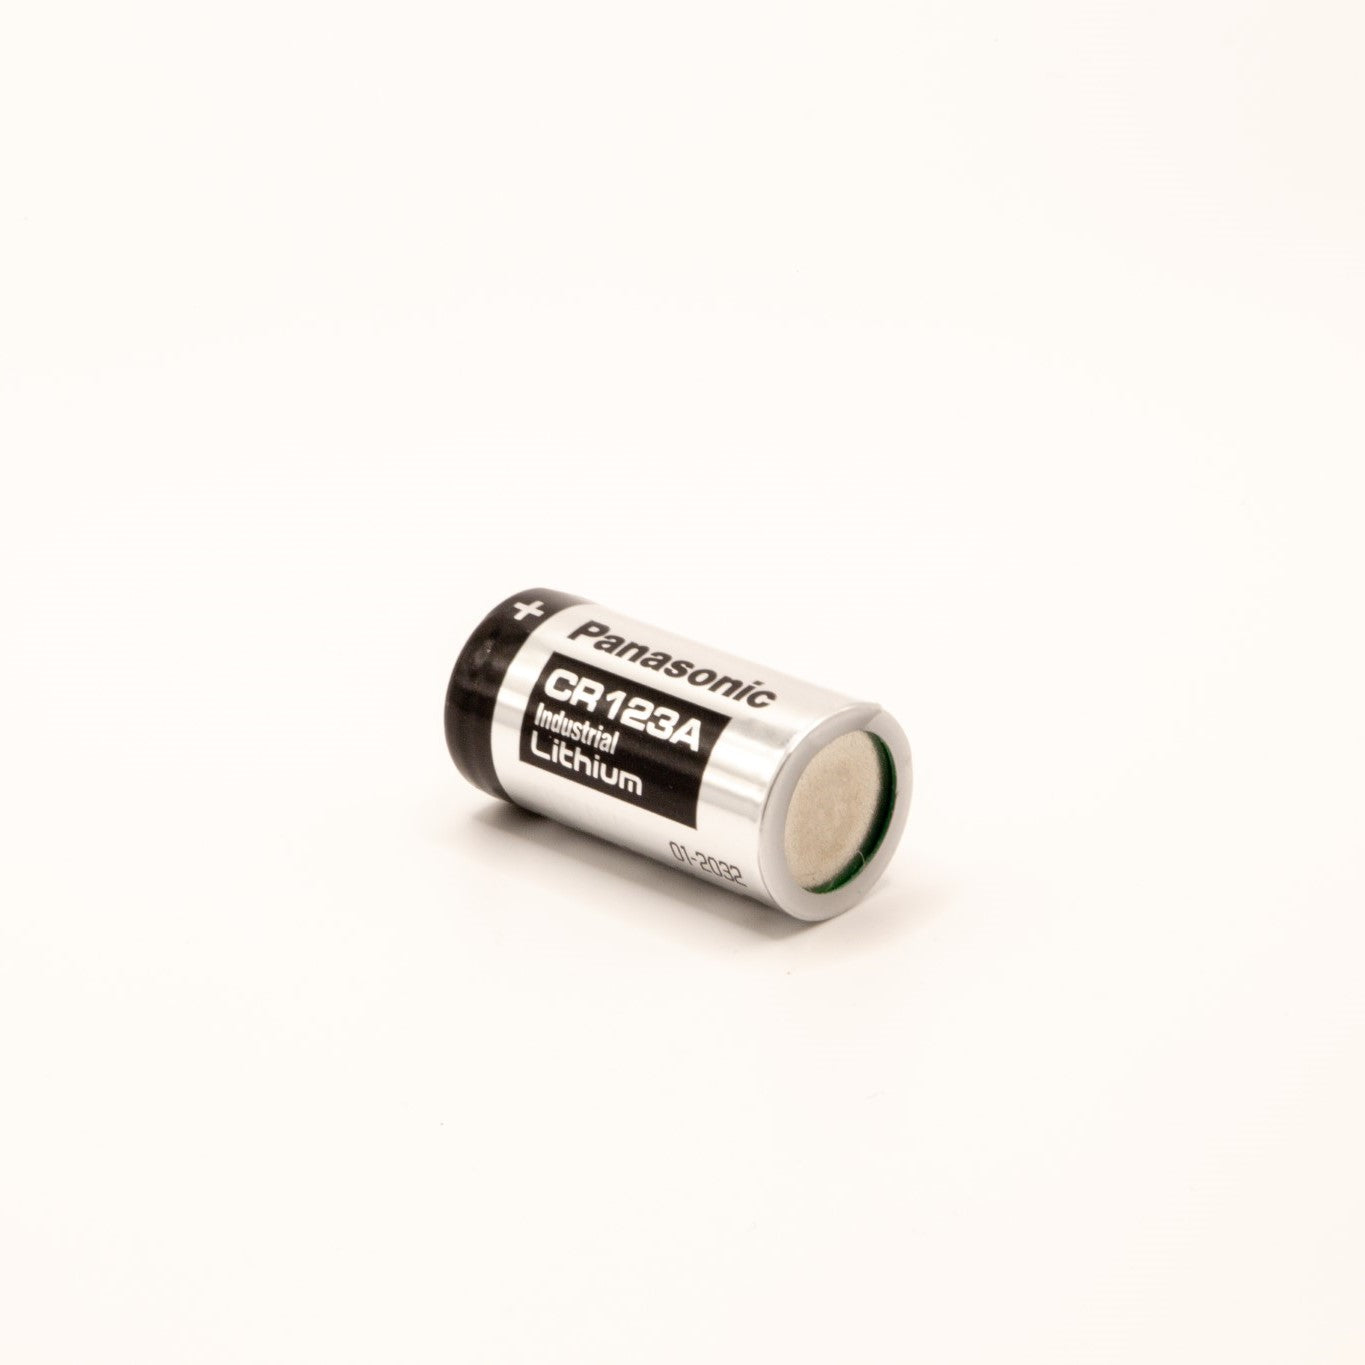
2. Insert a battery.
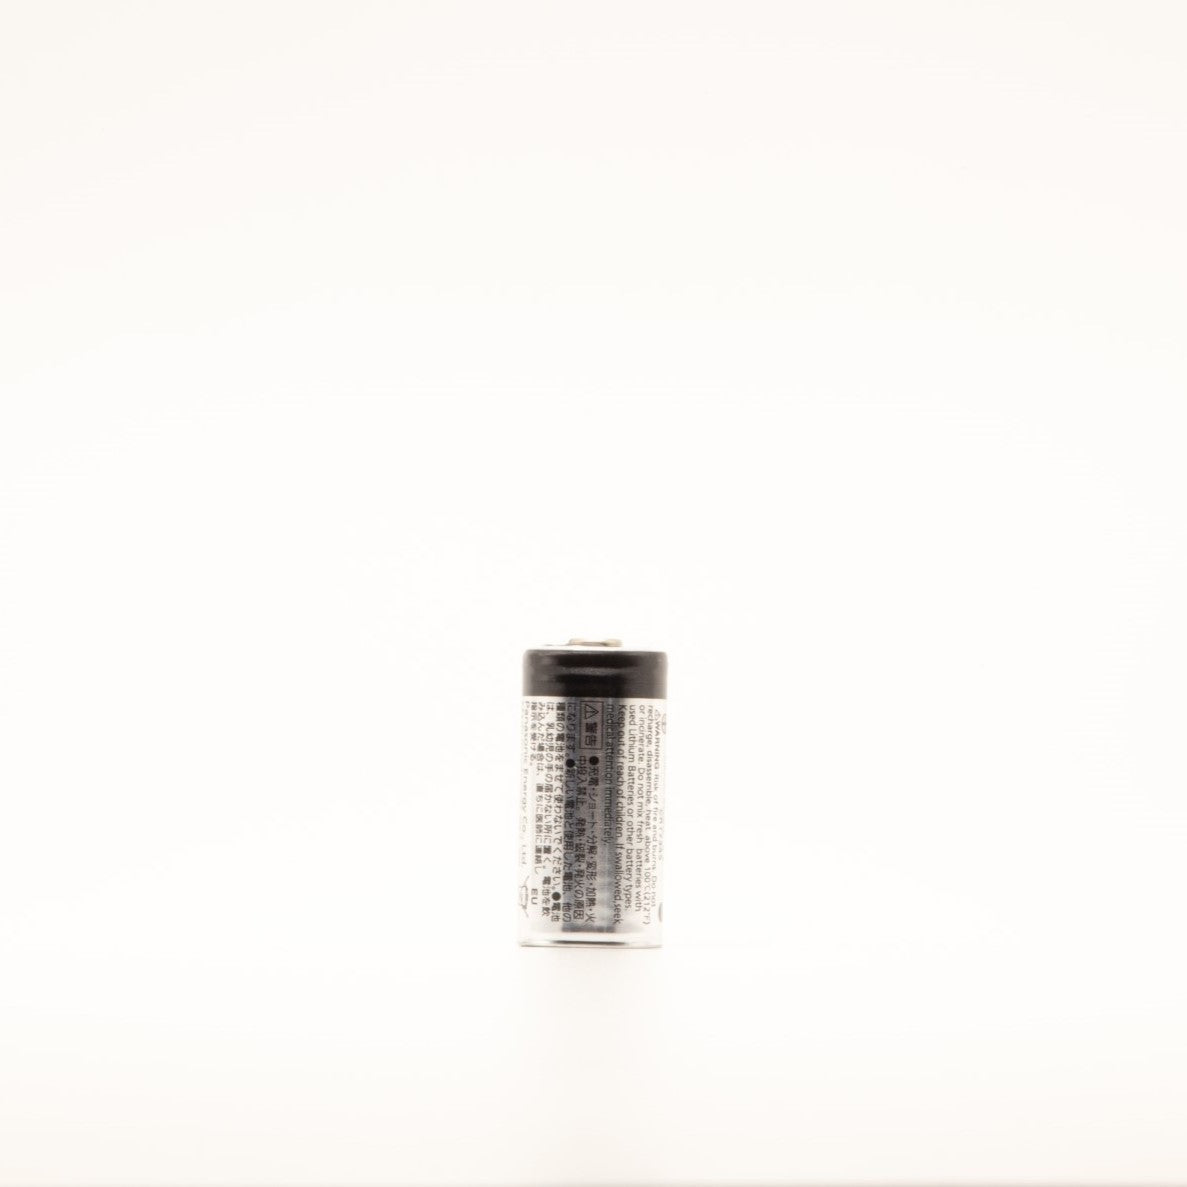
The battery compartment is located on the bottom or the side of your camera. Open the battery cover door and insert the correct battery to power up your camera. To find which battery you will need to use, you will find it typically labelled inside the battery compartment door.

3. Load the Film.
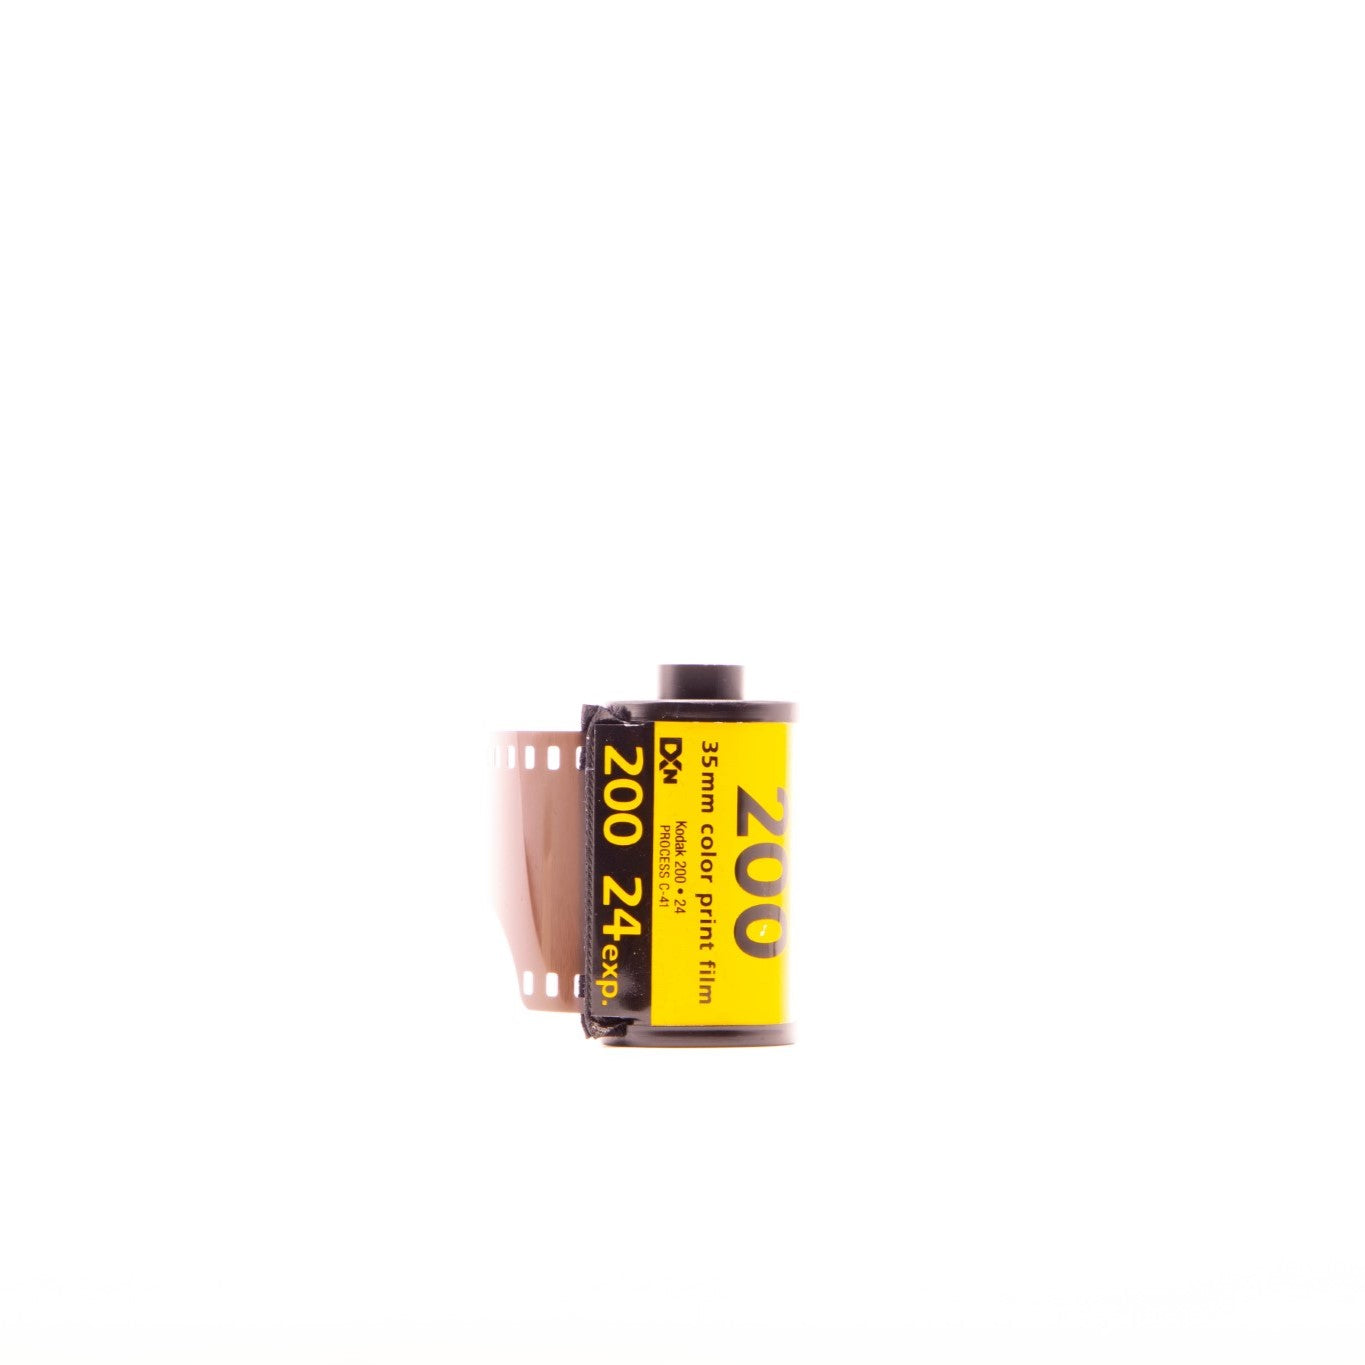
Once you have inserted a battery and have powered up your camera, open the camera's back door/film compartment. The switch to open this compartment is located on the camera's bottom or side. Place your 35mm film canister into the compartment, ensuring the film leader (the tip of the film) lines up with the film take-up spool. Pull the film leader across the camera to the other side and attach it to the film take-up spool. Make sure it's securely wound around the spool.


4. Close the Camera.
Close the camera's back door or film compartment, ensuring it latches securely to prevent any light leaks. Most cameras will automatically advance the film to the first frame. If not, look for a film advance lever or button and advance the film until it stops.

5. Set the Flash (if necessary).
If your camera has a built-in flash, set the flash to the appropriate mode depending on the lighting conditions. On most cameras, including our Olympus Mju, the camera will have auto exposure, as it will automatically identify if the surrounding area has too much or too little light. This will instruct the camera to either automatically operate/not operate the flash. With this camera, you will see in your viewfinder if the flash will engage by seeing an amber light to the LHS of your viewfinder (see our next step for a guide around the viewfinder).
6. Compose Your Shot.
Before composing your shot, familiarise yourself with your viewfinder and how it operates. Here, you will see what the viewfinder looks like in our camera:

Look through the viewfinder to frame your shot. Point the camera at your subject, and use the viewfinder's guidelines or focus marks to help you align the shot.
7. Focus.
Before you take a photo, make sure to half-press the shutter to instruct the camera to focus on its subject. Ensure that you half-press the shutter to prevent any unexpected out-of-focus photos. With this camera, if the subject is not in focus or the camera is not ready yet, the green light in the viewfinder will flash and won't allow you to take a photo.
8. Set Exposure Modes (if available).
Some point-and-shoot cameras offer exposure control options like aperture or shutter speed settings. Refer to your camera's manual to understand and use these features.
10. Take the Shot.
Press the shutter button fully to take the photo. Some cameras may have a self-timer feature, so be aware of any delays before the photo is taken.

11. Repeat and Rewind.
Continue taking photos as desired. Typically, a 35mm film roll contains 24 or 36 exposures. When you've used up the entire roll of film, rewind it into the canister.
12. Develop Your Film.
After rewinding the film, take it to a professional photo lab or use a film developing kit at home to process and print your photos.
So there you are! You are well and truly ready to start shooting film! Remember that with this guide, the specific features and functions of your 35mm point-and-shoot film camera may vary, so double-check your camera settings specific to your model. Enjoy the process of shooting film and the unique characteristics it brings to your photography!
Shop Film Cameras & Accessories
Looking for the perfect 35mm camera or fresh film stock? Check out our curated collection of vintage cameras, film rolls, and accessories in our store. Start your film photography journey today!
Explore More:
🔹 Shop 35mm Cameras
🔹 Best 35mm Film Cameras & Tips
🔹 Follow us on Instagram
Happy shooting! 📸
